Hi Friends! I'm so glad you popped over to see my latest creation for Tammy Tutterow Designs. I love little notebooks with blank pages that I can throw into my purse, put on the counter next to the phone and on my nightstand in case I think of something and want to jot it down. Handmade notebooks are my favorite and ever since I saw Tammy's cheerful stamp designs, I thought they would make the most happy and cheerful covers for handmade notebooks. The design of the notebook is not a design I came up with myself but a design I found on YouTube by Syafa Saurus. She creates all kinds of DIY crafts and her handmade notebooks were the perfect design for what I had in mind. If you're interested in seeing her create her notebooks you can find the link here.
These adorable 4-1/4" x 5-1/2" notebooks are so fun to give to family and friends as gifts or just a little something to give to someone to spread a little sunshine. I mean who wouldn't want an adorable notebook to throw in their purse? Just look at them, don't they make you smile from ear to ear?
Below I have created step by step instructions with photos on how to create these little cuties.
To create the covers, I cut a 8-1/2" x 11 piece of Neenah Desert Storm 100 lb. card stock in half.
Using a Martha Stewart score board, I score down the middle of each of the covers and crease the fold with the bone folder.
Next, I place the folded cover on the Misti stamping tool with the left edge and bottom edge of the cover in the left hand corner of the Misti. I make sure to use the magnets that come with the Misti so the cover will not move while I'm stamping. You will see why this is very important because of the technique I will be using in one of the steps below. I then place the stamp in the center of the cover where I want it to stamp.
I close the "lid" and pick up the stamp and ink it with Black Soot Archival Ink.
The image is stamped and I remove the cover from the Misti to color it. (DO NOT REMOVE the stamp from the "lid" of the Misti tool because we will be returning the cover to re-ink the image a second time and it needs to be in the exact same place as it was in the first stamping.
I color the image with Prisma colored pencils and I use a Signo Uni-ball white gel pen for the little berries or buds. I love the way colored pencils look on kraft paper. It's really pretty and the colors pop. As you can see the black ink from the stamping is faded. This is because I don't worry about staying in the lines within the images as I color them. I only stay within the outer lines of the image. This is a great technique because the coloring goes much faster. Don't worry though, the next step will bring the image back clear and crisp.
To restore the black inked image, place the colored cover back in the exact same spot on the left hand side of the Misti stamping tool. Re-ink the stamp with ink and stamp the image again.
Here, you can see how the black inked image is restored over the coloring. It's clear and crisp and really makes the beautiful colors of the pencils pop.
I ink the cover along the edges of the notebooks with Vintage Photo Distress Ink using a mini ink blending tool.
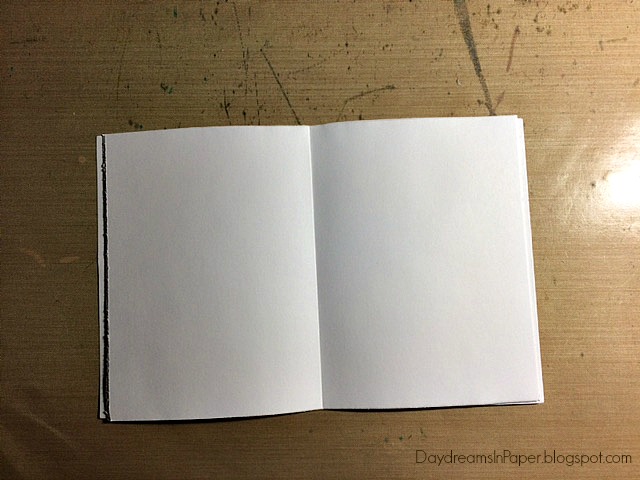
To create the inside of the notebook, I use 10 sheets of ordinary 8-1/2" x 11 printer or copy paper and cut it in half. I then fold that in half and crease it with a bone folder.
To attach the blank sheets of the notebook to the cover you need a stapler and an eraser.
Place the blank sheets of paper inside the cover of the notebook. Open the notebook to the center with the cover facing upwards, place the eraser under the area you will be stapling. Use an open stapler and punch a staple on the crease of the notebook cover directly over the eraser underneath.
Turn the entire notebook over and gently remove the eraser.
The staple will be sticking straight out of the center of the inside of the notebook.
Use a bone folder or hard metal object to fold over the staples toward one another down the center fold. Complete this process for the other two staples. You should add a staple to the top, middle and bottom of the notebook.
When all the staples are complete, you have a lovely notebook.
To add a ribbon to the notebook so you can mark pages, simply attach a thin piece of ribbon to the back inside cover of the notebook with hot glue.
Here again are the adorable notebooks that will surely put a smile on anyone's face.
Thank you so much for sticking with me to the end of this post. I hope you found some tips and/or tricks useful to take away and add to your crafting arsenal. Happy Crafting!!


Cathie, I LOVE this idea - I am always looking for something to make notes in - why not make it pretty!
ReplyDeleteI love your notebooks. What a great gift to give a friend. Thanks for sharing.
ReplyDeleteOh I just love these! Thanks for the great step out! I'm definitely going to make some of these!
ReplyDelete